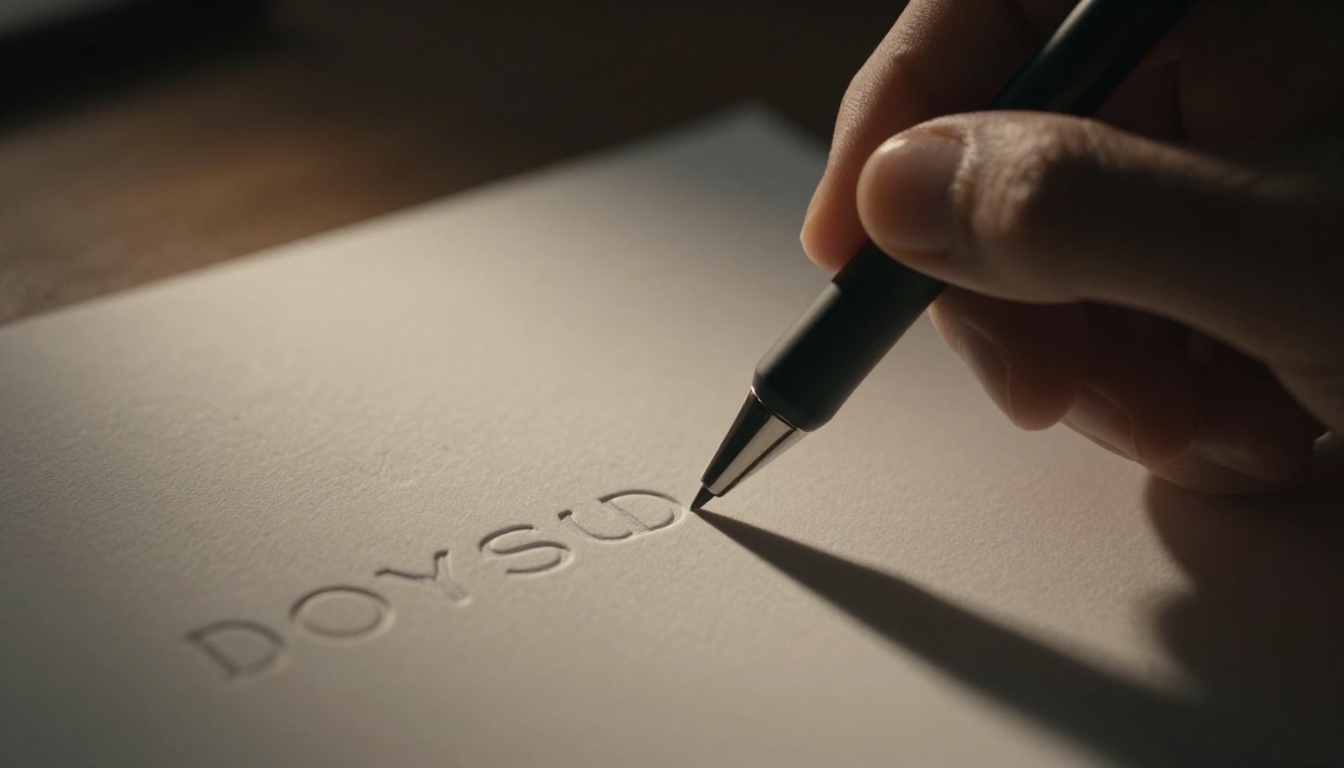
You grab a plain sheet of cardstock and some wedding invitations that look flat and boring. In minutes, you press a stylus from the back, and elegant raised letters pop up. Friends rave about the fancy touch.
That’s the magic of embossing paper manually using a stylus. You create depth without pricey machines or fancy tools. It costs pennies, works anywhere, and adds pro-level flair to crafts.
This method shines for beginners because you control every line. No heat or glue needed. You’ll save money and build skills fast. In this post, we cover supplies, setup, steps, tips, and fixes. Let’s turn paper into art.
Gather These Basic Supplies for Stylus Embossing
Start with items you likely own or grab cheap. A good stylus makes clean impressions. Smooth paper holds details best. These basics keep things simple and effective.
You’ll need four main things. First, pick a stylus. A bone folder works for broad lines. An embossing stylus gives fine control. Even an emptied ballpoint pen does in a pinch.
Paper matters most. Go for 80 to 110 lb cardstock. It resists tearing yet molds well. Matte finishes take impressions cleanly. Avoid glossy stock; it slips.
Trace your design with a soft pencil. Vellum or tracing paper serves as a template. It lets light shine through for easy copying.
Light helps too. A window or desk lamp works. These supplies cost under $10 total. Most come from dollar stores or home drawers.
In addition, keep scrap paper nearby. Test designs there first. This setup lets you emboss paper with stylus anytime.
Choosing the Right Paper and Stylus Combo
Paper weight affects results. Lighter stock bends too much. Heavier fights the stylus.
| Paper Weight | Best Stylus Tip | Result |
|---|---|---|
| 80 lb | Fine (1-2 mm) | Delicate details |
| 90-100 lb | Medium (3 mm) | Balanced depth |
| 110 lb | Broad (5 mm+) | Bold raised areas |
Test pairs on scraps. Fine tips shine on light paper for swirls. Broader ones suit heavy stock for letters. Matte Bristol board excels here. It grips without fuzz.
Smooth surfaces prevent skips. Cotton-based paper adds luxury feel. Always match to your design size.
Household Hacks If You Lack Fancy Tools
No stylus? Use a dried-up pen barrel. Press the tip gently. It mimics fine points.
Knitting needle ends work for curves. Wrap tape on the tip to dull sharp edges. Spoon handles fill bold areas.
A toothpick handles tiny dots. However, go slow; wood splinters easy. These swaps save trips to stores.
Test pressure first. Paper tears if you push hard. Household items deliver pro results with care.
Set Up Your Workspace and Transfer the Design
Clear a flat table. Add a non-slip mat or mouse pad underneath. It stops sliding.
Good light prevents squinting. Position your setup near a window. This stage sets up success.
Draw or print a simple pattern on vellum. Hearts, names, or leaves start easy. Scale to fit your paper.
Flip the template. The back becomes your embossing side. Tape edges down lightly.
Place paper behind vellum. Hold against light. Trace outlines with pencil if needed. Clean lines avoid fuzzy fronts.
Back-embossing pushes designs forward. Front stays pristine. Patience here pays off later.
Work in short bursts. Hands tire fast. A comfy chair helps focus.
Best Lighting Tricks for Easy Tracing
Natural window light beats all. It spreads even without glare. Best from 10 a.m. to 2 p.m.
Phone flashlights work inside. Prop glass over it for diffusion. Steady hold matters.
Cheap LED pads cost $15. They last years and fold flat. However, batteries die quick.
Each method traces clean. Pick what fits your space. Sunlight stays free forever.
Follow This Foolproof Step-by-Step to Emboss Like a Pro
Ready to emboss? Follow these steps exactly. Practice on scraps first. Simple shapes build confidence.
- Tape vellum template to paper back. Align edges perfect. No wrinkles.
- Outline edges light with stylus. Follow lines steady. Use your wrist, not arm.
- Fill interiors next. Apply even pressure. Circle for curves; straight for lines.
- Flip and check front. Raised areas show now. Go back for weak spots.
- Erase pencil marks gentle. Buff front smooth.
Even pressure creates uniform height. Go slow at first. Speed comes with practice.
This how to emboss paper manually using a stylus works every time. Start with a single letter. Feel the paper give under tip. That’s your cue for depth.
Curves need small loops. Press, lift, repeat. Straight lines flow smoother.
After ten tries, you’ll see pro results. Scraps teach without waste.
Mastering Pressure and Speed for Crisp Results
Start light. One pass outlines. Build layers for height.
Slow strokes suit details. Flowers need patience. Faster fills bold shapes.
Feel resistance change. Paper yields soft at perfect depth. Too much indents front.
Practice speeds on grid paper. Match to design needs. Crisp edges follow.
Finishing Touches to Make Designs Shine
Dust metallic powder on back impressions. Rub in gentle. Front gleams.
Wax crayons add subtle shine. Color-match your theme.
Metallic ink outlines front edges. Dry fully before handling.
Warm paper under lamp first. It softens for deeper press. Safe, no heat tools.
These steps elevate basic emboss to stunning.
Unlock Pro Tips and Avoid Beginner Mistakes
Warm paper slight with hands. It flexes better, holds impressions deeper.
Erase pencil faint. Soft gum erasers lift without smearing.
Practice curves on spirals. They train steady hands.
Common slip: too much force. Paper tears easy. Fix by starting over light.
Skip lightbox? Lines blur. Use window always.
Ignore paper grain? Designs crack. Stroke with grain direction.
Stylus embossing tips like these save time. Try one today. Share your first piece below.
Grain runs longways on most sheets. Test fold first.
Fun Project Ideas to Test Your New Skill
Craft greeting cards. Emboss “Happy Birthday” central.
Bookmarks shine with quotes traced light.
Journal covers take florals bold.
Start small. Build to invites. Each project sharpens skill.
These ideas use scraps first. Fun follows fast.
You’ve got the full method now. Grab supplies and emboss today. It transforms crafts cheap and quick.
Manual stylus work builds real skill. No machines match that control. Your pieces stand out.
Pin this for next project. Try it, then comment results. What design calls you first?
Creativity flows when hands lead. Start pressing.