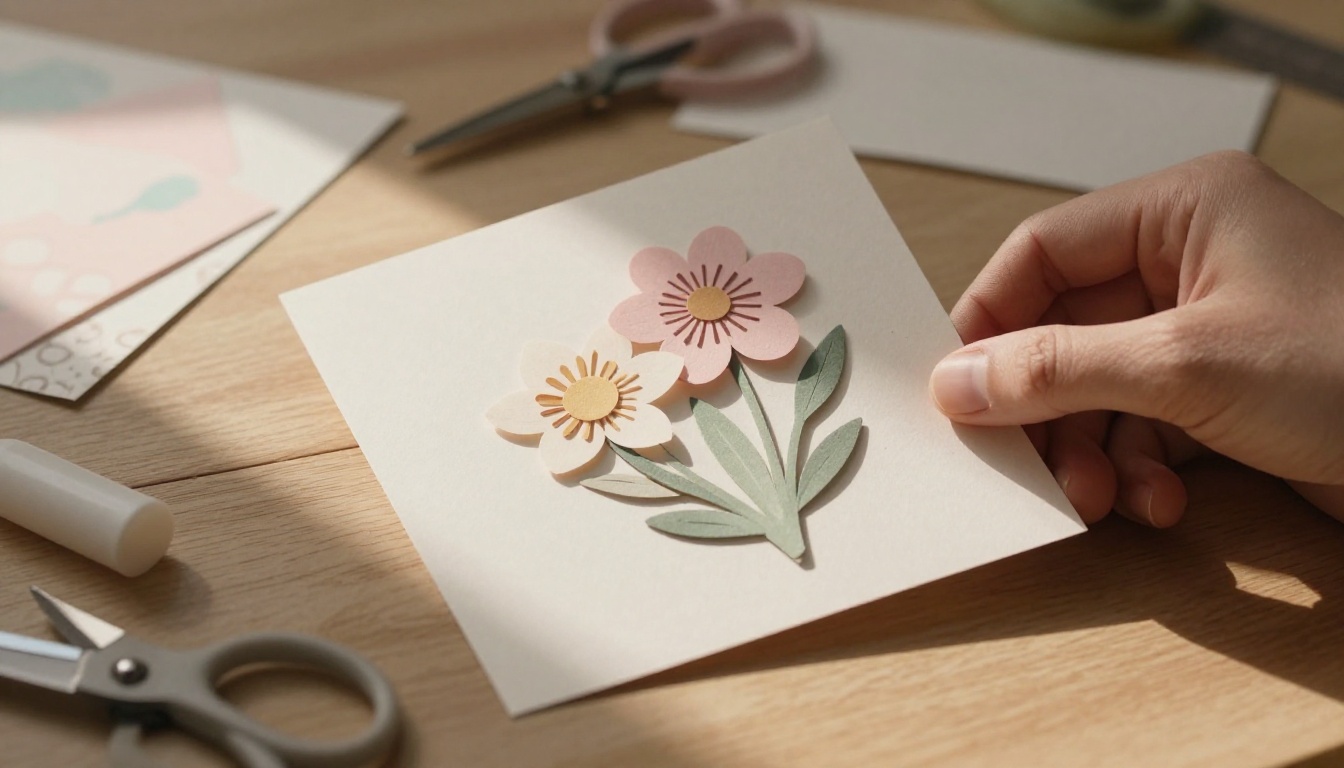
Picture this: a simple greeting card lies flat on the table, dull and forgettable. Now imagine the same card with stacked flowers that lift off the page, shadows adding real dimension. That’s the power of layering paper. You stack cutouts, mats, and shapes to build depth and contrast in your crafts.
Beginners love this technique because it uses basic supplies you already own or can grab cheap. It sparks creativity and turns flat projects into eye-catchers that wow friends. In this guide, you’ll find supply lists, easy techniques, step-by-step projects, and fixes for slip-ups. You’ll master layering paper for depth and contrast without fancy tools.
Ready to add pop to your next card? Let’s start with what you need.
Gather These Must-Have Supplies for Easy Layering
Stock up on basics first. These items come from dollar stores, big box crafts shops, or online sellers. They let you focus on fun, not frustration. Start small to gain confidence before big projects.
Keep costs low, under $20 total if you shop smart. You’ll use them over and over.
Pick Papers That Play Well Together for Contrast
Cardstock forms your sturdy base. Choose colors like white, black, or pastels in 65-80 lb weight. It holds layers without buckling.
Patterned paper adds interest. Pick florals, geometrics, or stripes on lighter stock. Vellum brings translucency for soft glows. Tissue paper works for sheer overlays.
Mix solids with patterns for sharp contrast. Pair light backgrounds with dark accents. Or busy prints against plain. Complementary colors, like blue and orange, make elements leap out.
Grab 5-10 sheets to experiment. Test combos by holding them up to light. Does one shade pop against the other?
Tools and Glues That Make Layers Stick Right
Sharp scissors or a paper trimmer give clean edges. A bone folder creases folds neatly. Scoring boards speed this up.
For details, use a craft knife on a self-healing mat. Foam squares or dots create lift, up to 1/4 inch high. They add true 3D pop. Double-sided tape secures flat layers. Glue dots handle small pieces without mess.
Foam beats liquid glue because it prevents sogginess. Always cut foam smaller than the layer above.
Safety first with knives: score away from your body. Budget trimmers start at $5. You can layer like a pro right away.
Grasp Depth and Contrast: The Magic Behind Layered Looks
Depth tricks your eye into seeing three dimensions on paper. Contrast makes parts stand out. Think of a flat line drawing next to one with shadows and overlaps. The layered version pulls you in.
These ideas build on simple stacking. No art degree needed. Everyday examples help it click.
Stack and Lift to Create Illusion of Depth
Overlap edges slightly. Place bigger shapes behind smaller ones. This mimics how objects recede in real life.
Foam spacers lift front layers. Shadows form naturally underneath. Start with 3-5 layers max. More gets bulky.
For example, stack circles: largest at back, foam between each. The front one seems closest. Practice on scraps to see the effect.
Mix Colors and Patterns for Bold Contrast
Light fights dark for attention. A white flower on black pops instantly. Busy patterns next to smooth solids draw the eye.
Thick lines over thin ones add punch. Limit to 2-3 colors per stack. Too many muddies the look.
Step back three feet. Does it grab you? Adjust until yes. In contrast, patterns over solids create rhythm without chaos.
Master Simple Techniques for Stunning Layers
Practice these on scrap paper first. Each takes under 30 minutes. Use 1/8-inch measurements for precision. Build from basic to bold.
You’ll gain speed fast. These form the base for all projects.
Mat and Frame Elements for Clean Depth
Mats add instant polish. They frame focal points like quotes or photos.
- Cut focal image to 3×4 inches.
- Cut first mat 1/2 inch larger all around, from contrasting paper.
- Layer second mat 1/4 inch bigger than first.
- Adhere with tape. Foam the focal piece on top.
This uses two layers for depth. Great for cards or tags.
Stack Cutouts to Build Natural Dimension
Hand-cut or punch shapes like leaves or hearts.
- Cut three sizes: 2 inches, 1.5 inches, 1 inch.
- Offset slightly when stacking.
- Dot glue between backs. Vary paper weights for texture.
Flowers shine here. Curl edges with a bone folder for life. Three layers build organic depth.
Pop Up with Foam for 3D Drama
Foam tape turns flat into dynamic.
- Cut elements and apply foam to backs.
- Stack tallest first, then shorter.
- Add folds or bends for movement.
Don’t overload; glue base strong. This creates drama in small spaces.
Build Skills with These Quick Beginner Projects
Put techniques together now. These finish in 15-45 minutes. Share results online for feedback.
Costs stay under $1 each. Personalize as you like.
Layered Greeting Card That Steals the Show
Materials: 5×7 cardstock base, patterned papers, foam dots, scissors, sentiment sticker.
- Fold base. Cut mat 4.5×6.5 inches.
- Layer floral stack: three flowers offset with glue dots.
- Pop leaves behind with foam. Add sentiment on top mat.
Time: 20 minutes. For birthdays, swap flowers for balloons. It folds flat for mailing.
Dimensional Picture Frame Insert
Materials: 4×6 cardstock, photo 3×4 inches, border papers, foam tape.
- Cut outer mat 4×6. Inner frame 3.5×5.5.
- Layer borders with offsets. Foam photo center.
- Add tiny accents like stars.
Time: 30 minutes. Themes fit holidays or weddings. Slip into any frame.
Dodge Common Mistakes for Pro-Level Results
Newbies hit snags, but fixes are simple. Spot these five to shine.
Wonky alignment happens without rulers. Measure twice, cut once.
Glue blobs ruin looks. Stick to dots or tape.
Too many layers topple. Cap at four.
Color clashes dull designs. Test stacks flat first.
Weak bases flop. Pick thick cardstock always.
Prevent by practicing scraps. You fix fast and create better.
Layering paper transforms crafts with small effort. Supplies stay simple, techniques build quick, and projects impress. Depth comes from smart stacks, contrast from bold mixes.
Grab scraps today and try the greeting card. Share your photo in comments below. What will you layer next? Keep crafting.